

We’ve all been there. You’ve just finished a great workout, your meal prep is on point, but that late-night craving for something sweet hits hard. The dilemma is real: do you stick to your goals or give in to a treat that might undo your hard work? What if you could do both?
The Rise of Guilt-Free Protein Desserts
The idea of a dessert that actually supports your fitness goals isn't a fantasy anymore. Functional treats are becoming a staple for health-conscious people everywhere. In fact, the demand for protein-enriched frozen desserts has grown significantly as more of us look for ways to satisfy our sweet tooth without the guilt. These aren't your average sugar-loaded snacks; they are smartly crafted to fit right into a healthy lifestyle.
A high-protein dessert is more than just an indulgence. It’s a strategic way to boost your daily protein intake, which is essential for muscle recovery and growth. When a single serving delivers 20-25 grams of quality protein, your dessert suddenly becomes a productive part of your nutrition plan. As Dani's Healthy Eats points out, these recipes are popular year-round, proving that smart snacking isn't just a summer trend. This protein ice cream sandwich recipe is one of the best healthy vegan dessert ideas to keep you on track and completely satisfied.
Choosing the Best Vegan Protein for Frozen Treats
Let's talk about the biggest fear when making homemade protein treats: that dreaded chalky, grainy texture. We’ve all had a protein shake that missed the mark, and the thought of that in our ice cream is enough to make anyone hesitate. The secret to avoiding this lies entirely in choosing the right protein powder.
For frozen desserts, you need a powder that does more than just add protein. It needs to dissolve seamlessly and contribute to a creamy texture. Look for a clean, plant-based protein with around 25g of protein per serving. Pea and rice protein isolates are fantastic choices because they emulsify beautifully with fats like coconut milk, creating a smooth base without any grittiness. This is a key reason why understanding what makes our protein powders superior can make all the difference in your vegan protein powder recipes.
Flavor is another consideration. A naturally flavored vanilla or chocolate protein provides a delicious foundation, while an unflavored option gives you a blank canvas to create your own unique taste. The goal is a protein that works with your ingredients, not against them.
| Protein Type | Texture in Frozen Recipes | Flavor Profile | Best For |
|---|---|---|---|
| Pea Protein Isolate | Very smooth, creamy | Mild, slightly earthy | Creating a smooth, neutral ice cream base. |
| Rice Protein Isolate | Smooth, dissolves well | Slightly sweet, neutral | Recipes where a clean taste is essential. |
| Hemp Protein | Slightly gritty, earthy | Nutty, strong | Recipes where a rustic texture is desired, like cookie dough. |
| Soy Protein Isolate | Generally smooth | Neutral to slightly beany | A versatile option, but check for mixability. |
Recipe for No-Churn Creamy Protein Ice Cream
Now that you know which protein to use, let's get to the fun part. You don't need a fancy ice cream maker for this recipe, just a blender and a little patience. This simple, three-ingredient method, inspired by a technique from The Big Man's World, creates a surprisingly creamy base. Here’s how to make protein ice cream that’s both delicious and packed with nutrients.
Ingredients:
- 1 can (13.5 oz) full-fat coconut milk, chilled overnight
- 1 ripe avocado, pitted and peeled
- 1 scoop of your favorite vegan protein powder
Instructions:
- Blend the Base: In a high-speed blender, combine the chilled coconut milk (just the solid cream part) and the ripe avocado. Blend until the mixture is completely smooth and creamy. This step is crucial because it emulsifies the fats, which is the secret to preventing ice crystals.
- Add the Protein: Add one scoop of vegan protein powder to the blender. Blend again for just 15-20 seconds, until it's just combined. Be careful not to over-blend here, as it can make the texture gummy.
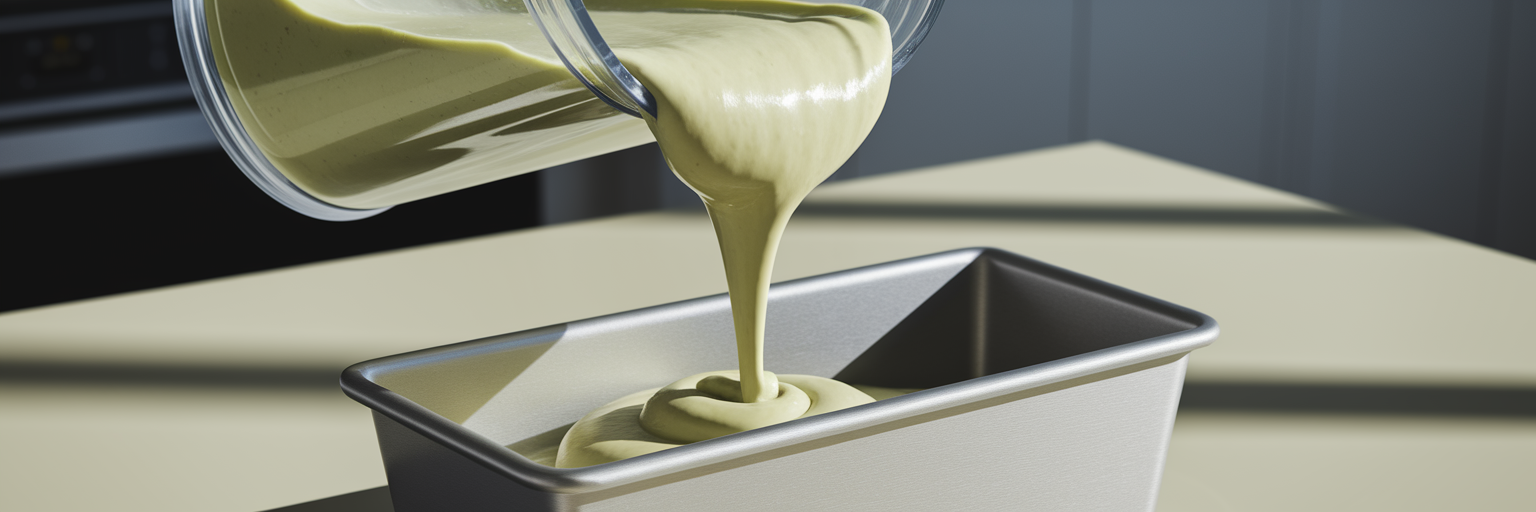
- Freeze: Pour the mixture into a loaf pan or a freezer-safe container. For an even creamier result, cover and chill it in the refrigerator for 30 minutes before transferring it to the freezer. Freeze for at least 4-6 hours, or until firm.
Each scoop of this ice cream base packs around 15g of protein for under 120 calories, making it a powerhouse treat. If you love how simple this is, you should explore some of the other easy vegan protein recipes we've shared.
Recipe for No-Bake Protein Cookie Dough Layers
What’s an ice cream sandwich without the cookie? These no-bake cookie dough layers are soft, chewy, and add another protein boost. They are incredibly easy to make and provide the perfect structure for our creamy ice cream filling. This technique, adapted from a method highlighted by FoodSocial, ensures your cookie layers are firm enough to hold everything together without crumbling.
Ingredients:
- 1 cup almond flour
- 2 scoops vegan protein powder (vanilla or chocolate work great)
- 1/2 cup creamy cashew butter
- 1/4 cup maple syrup
- 2 tablespoons melted coconut oil
Instructions:
- Mix the Dough: In a medium bowl, combine the almond flour, protein powder, cashew butter, maple syrup, and melted coconut oil. Mix until a thick, uniform dough forms.
- Roll it Out: Place the dough between two sheets of parchment paper. Use a rolling pin to roll it out to about 1/4-inch thickness.
- Freeze to Firm: Transfer the flattened sheet of dough (still on the parchment paper) to a baking sheet and place it in the freezer for about 30 minutes. This step is essential for getting clean cuts and a sturdy cookie.
- Slice: Once firm, remove the dough from the freezer and slice it into uniform rectangles.
These cookie layers add an extra 5-7 grams of protein per sandwich, bringing the total for this protein ice cream sandwich recipe to well over 20 grams. Now you have two perfect components ready for assembly.
Secrets to Achieving a Silky Smooth Texture

We've covered the right ingredients, but technique is just as important for getting that perfect, silky smooth ice cream. If you’ve ever made a homemade frozen dessert that turned out icy, you know how disappointing it can be. The difference between a creamy treat and a block of ice often comes down to a few small details.
Here are the non-negotiable secrets to ensuring your protein ice cream is unbelievably smooth every time:
- Blend Fats First: We mentioned it in the recipe, but it’s worth repeating. Blending the coconut milk and avocado together before adding anything else creates a stable, fatty emulsion. This rich base coats the water molecules, preventing them from forming large, crunchy ice crystals.
- Add a Touch More Fat: If you want an even more decadent and creamy mouthfeel, add one tablespoon of melted coconut oil or a creamy almond butter to your base mixture. This extra fat further enhances the smoothness and richness of the final product.
- Pre-Chill Before Freezing: Don't skip the 30-minute chill in the refrigerator. This simple step allows the mixture to cool down and set gently. When you transfer a pre-chilled base to the freezer, it freezes faster and more evenly, which is key to minimizing ice crystal formation.
By combining a quality pea or rice protein with enough healthy fats and the right technique, you can confidently create a dessert that rivals any store-bought treat.
Customizing for Flavor and Lower Calories
Once you’ve mastered the basic recipe, it’s time to get creative. This formula is incredibly versatile, allowing you to adjust it to your specific tastes and dietary needs. Think of it as a template for your dream dessert.
Here are a few ideas to get you started:
- Low-Calorie Swaps: For a lighter version, you can create a low calorie ice cream sandwich by replacing the full-fat coconut milk with frozen bananas. This "nice-cream" base is naturally sweet and creamy. You can also reduce the maple syrup in the cookie dough or use pureed dates for a whole-food sweetener.
- Gourmet Flavor Combos: The easiest way to change the flavor is by using a different protein powder. Imagine a rich, decadent sandwich made with our chocolate vegan protein. As noted by MyVega, using flavored proteins like chocolate-hazelnut can create incredibly rich desserts. You can also add mix-ins like cacao nibs, chopped nuts, or a swirl of peanut butter to the ice cream base before freezing.
The possibilities are endless. What amazing flavor combo will you create? Let us know in the comments below!
Assembling and Storing Your Protein-Packed Treats
You’ve made the components, and now it’s time for the final, satisfying step: assembly. Take your firmed-up ice cream out of the freezer and let it sit for a few minutes to soften slightly. This will make it easier to spread.
Spread a generous layer of the protein ice cream onto one of your cookie dough rectangles, then gently press another cookie layer on top. That’s it! You’ve created a perfect, protein-packed ice cream sandwich.
For the best results, wrap each sandwich individually in parchment paper and store them in an airtight container in the freezer. This prevents freezer burn and keeps them fresh for whenever a craving strikes. They should last for up to a month, but we doubt they’ll be around that long.
Congratulations on making a delicious treat that fuels your body and satisfies your soul. Ready to create your own guilt-free dessert? Explore our full range of clean, plant-based proteins and get started today!